Saturday 30 April 2016

PORKY'S BBQ, CHELSEA

Last Friday night my husband, daughter and I wanted to go out for supper but could not decide where. We wanted to go somewhere different but local and in all honesty I wasn't particularly hungry as I had been out for lunch. We decided to try Porky's BBQ on the Fulham road in Chelsea - Porky's originally opened in 2013 in Camden, and Chelsea is their fifth outpost. The food is based on Memphis cuisine - a pork heavy menu "cooked low and slow and tasting smokey and sweet".

The menu is pretty extensive and right up my street - small plates such as hot wings and pulled pork croquettes, various sandwiches, hot dogs, burgers, salads, ribs, chicken - it was too hard to choose! We decided our best bet was to have the sharing platter which consisted of half a chicken, pulled pork, sausages, half rack of baby back ribs, St Louis ribs and pork belly.


We also ordered sides of mac and cheese, mac and cheese with bacon, fries, BBQ beans and salad.


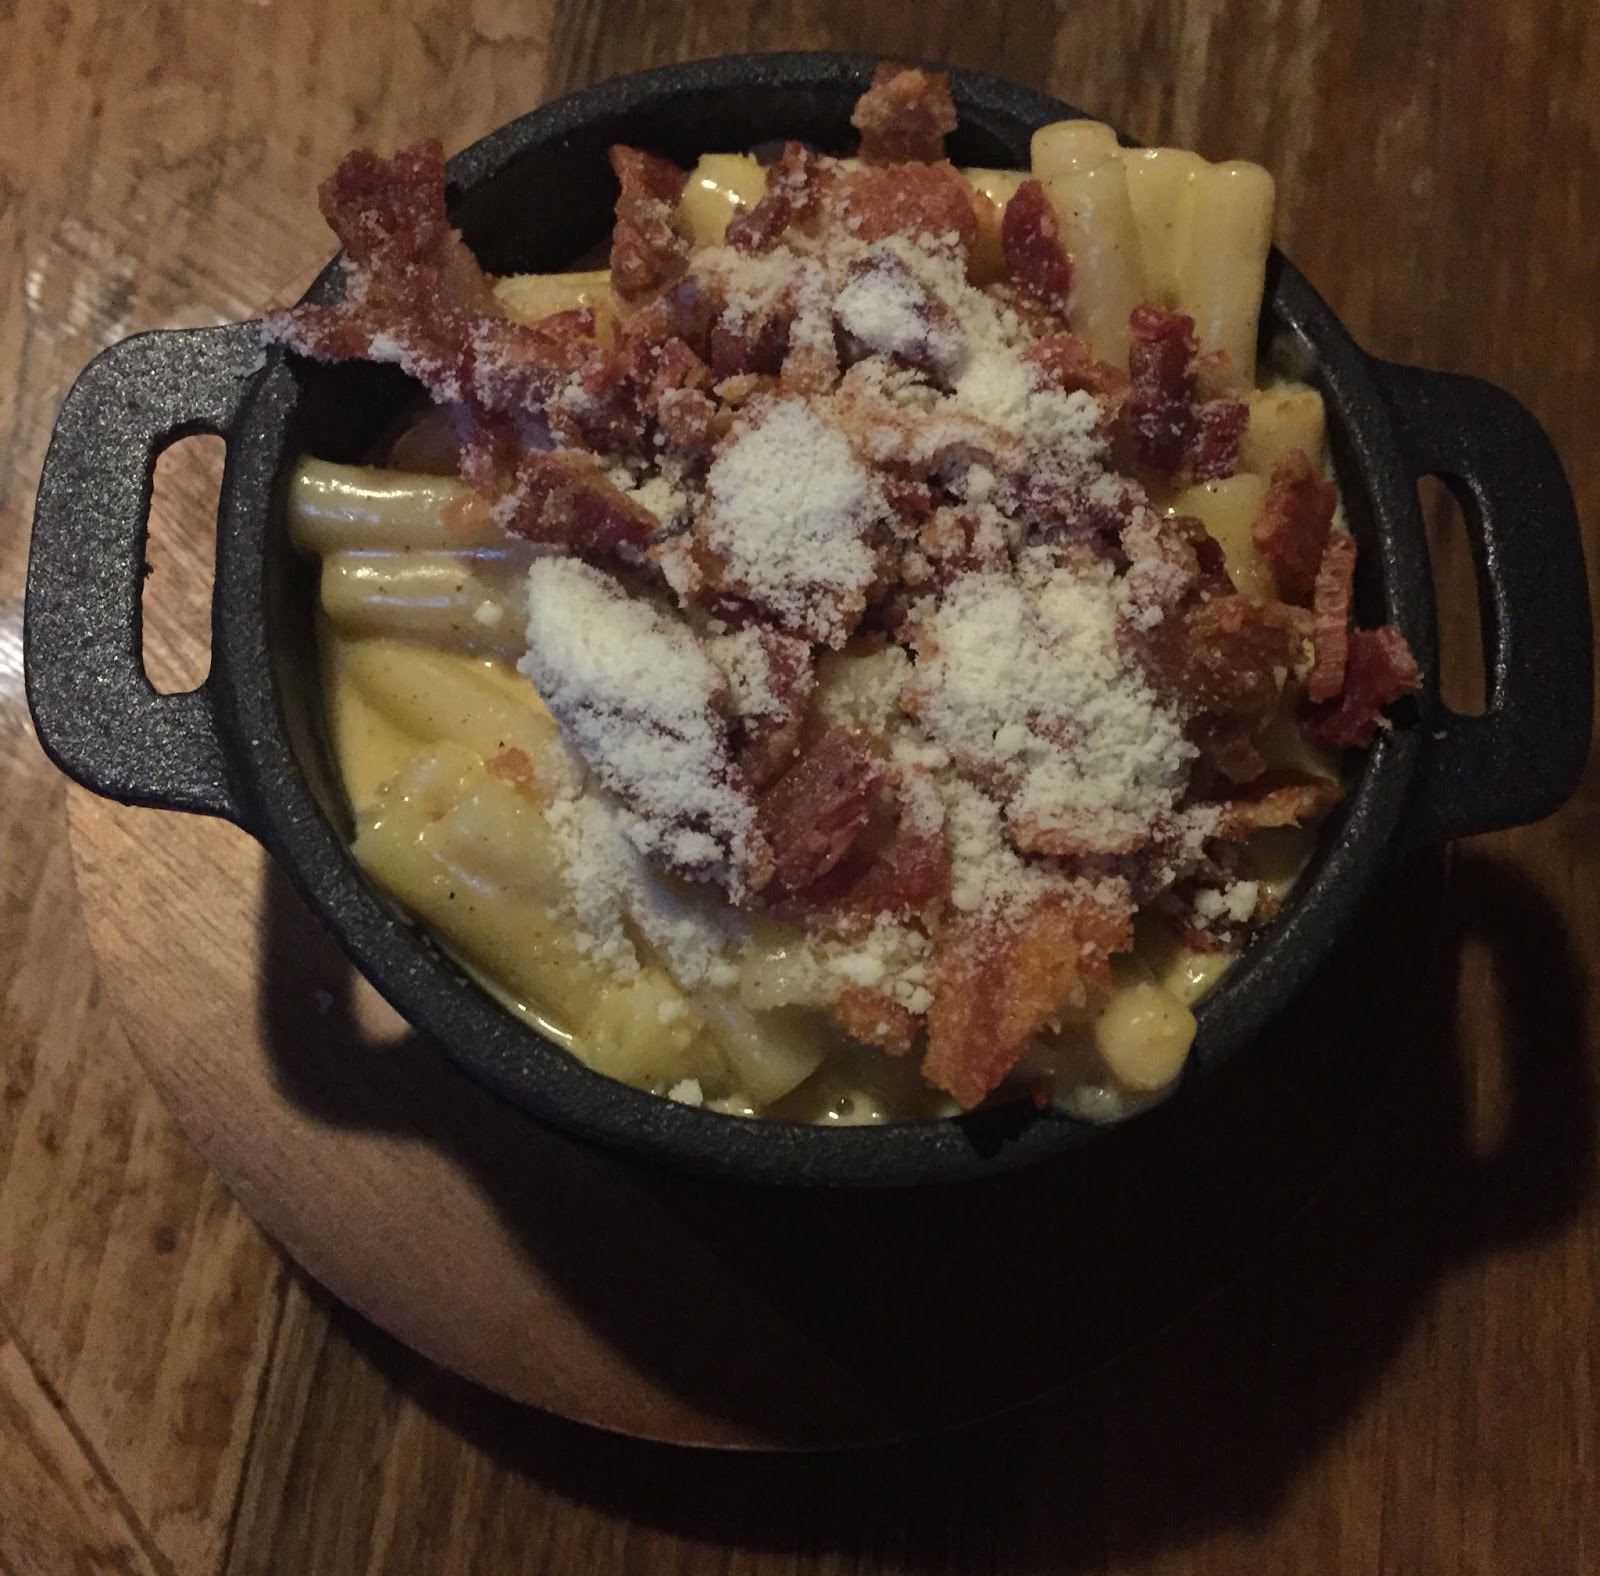
It certainly looked good but what was the verdict.....both Pascal and Arabella enjoyed it all - Arabella loved the chips so much she polished off the whole bowl in a flash. They were both a fan of the mac and cheese but I have to admit I didn't think it was the best - I found it too creamy and a bit processed. The beans had a real kick to them which I wasn't expecting but they were enjoyable as was the salad.

With regards to the meat, the ribs were brilliant, really tender and flavoursome, definitely my favourite part. The pulled pork, pork belly and chicken were also good, I am not normally a fan of chicken and find it quite bland, but this had the BBQ, smokey element to it. In all honesty the sausages were very disappointing - they tasted quite cheap - which is surprising since the restaurant is located right next to a phenomenal butchers, but they were the only downside of the platter.

There was no room for pudding unfortunately.

Would we go back? I'm not sure - they do a rib eating challenge which I would enjoy watching my brother participate in however for me I much prefer food at The Big Easy and would pick that over Porky's any day. However it was very reasonably priced - especially for the area - and service was quick and efficient.


343 Fulham Road
London
SW10 9TR
Tel: 020 8127 8240
Email: chelsea@porkys.co.uk

Square Meal
Porky's BBQ Menu, Reviews, Photos, Location and Info - Zomato

Tuesday 26 April 2016

PEA SHOOT AND PECORINO PASTA

My eyes have always been bigger than my stomach and that is certainly the case now. Despite the fact I am "eating for two", there isn't much room in my tummy and if I overeat I can really feel it and I seriously regret it afterwards. Therefore when we decided to cook pasta on Saturday night, I wanted to find a lightish recipe which wasn't going to repeat on me all night. I cooked this for my husband, daughter and great friend Ceri and it took about 30 minutes in total. It is from a Waitrose magazine in 2014 - definitely time I cooked it!!

Ingredients for 4 people:

400g spaghetti
200g fresh or frozen peas
50g butter
2 garlic cloves, finely chopped
Zest of one lemon
Juice of half a lemon
50g pea shoots
10g dill, finely chopped
60g Pecorino Romano, grated


I started off by preparing all the ingredients, cutting the dill, grating the cheese and lemon zest and chopping the garlic etc. I would also recommend chopping the pea shoots a little as I nearly choked on one!

Cook the pasta in a large pan of salted boiling water according to the packet's instructions. Mine took about 8 minutes as I wanted them al dente and I added the peas to the boiling water for the final 3 minutes.


Meanwhile, heat the butter in a frying pan until foaming and starting to turn golden. Add the garlic and cook for 2-3 minutes, stirring often, until the butter is nutty brown. Make sure you don't burn the garlic!


Take off the heat and add the lemon juice immediately to stop it cooking, stir in the zest and set aside.


Drain the pasta and peas, making sure you reserve a cupful of the cooking water. I find it easier to scoop a cupful out before I drain.

Add the pasta back to the pan and mix with the garlic butter and a splash of cooking water (I have two different types of spaghetti in there hence the weird colours)!


Return to a low heat and add the pea shoots, dill and half the cheese.


Finally serve immediately and scatter with the remaining cheese.


My final photo isn't the best but I didn't take care as I was so keen to eat. This tasted so fresh and summery, you can really taste the different flavours - the lemon, the garlic and the peas. Plus despite me eating quite a substantial bowl, it wasn't too filling and over the top. A perfect dish for a summer's day.....we just need the sun to come out now!!


  Nutrition Facts Widget Image

Monday 25 April 2016

PURPLE SPROUTING BROCCOLI AND ROASTED GARLIC

I think I have done more cooking this week than I have in the entire last month. Now I am back into it, I am enjoying it again - I find it very therapeutic. On Sunday it was roast day and I decided to cook my Roast Leg of Lamb which is stuffed with anchovies, garlic and rosemary (I didn't tell my daughter that part) along side this broccoli. I much prefer vegetables cooked with a little something extra than plain, and these took about 40-45 minutes to cook.

Ingredients for 8 people:

4 whole bulbs of garlic
145g Parmesan, grated
30g anchovies
1tbsp white wine vinegar
1 tsp honey
260g creme fraiche
500g purple sprouting broccoli, woody ends trimmed


Preheat the oven to 200 C fan / 220 C.

Slice the tops off the garlics and then wrap the bulbs in tin foil. Place on a baking tray and roast for 35 minutes until soft.


Squeeze the softened garlic from the casings into a food processor and blitz with 45g of Parmesan and the anchovies. It is meant to resemble a fine paste - mine certainly didn't!


Add the vinegar, honey and creme fraiche and blitz again. If you need to, add a dash of hot water. I didn't and thankfully all the ingredients came together.


Bring a large pan of salted water to the boil and add the broccoli for around 3 minutes - it's good for the vegetables to have a bit of a bite. Drain the broccoli, stir through the sauce and then sprinkle with the remaining Parmesan. As my husband Pascal doesn't really like sauce, I only mixed half of it with the broccoli and I kept the rest as a sauce for the lamb however it is entirely up to you.


This worked surprisingly well - I was amazed as I have to admit when I was making the sauce I was pretty dubious. Even Pascal was a huge fan. It is a great way to spruce up simple broccoli, it went brilliantly with lamb and I am sure would work well with a nice white fish. My only complaint is, with all that garlic, it doesn't do your breath any favours!!!

Nutrition Facts Widget Image

Saturday 23 April 2016

ONE BOWL CHOCOLATE CAKE WITH CHOCOLATE FROSTING

It was my daughter Arabella's 8th birthday party today and she wanted a Harry Potter cake - I checked out some of the amazing creations on Pinterest but they were way too ambitious!! So I then decided the best option was baking a chocolate cake and buying some Harry Potter Edible Wafer Cake Toppers from Amazon. I normally cheat when I make a cake and use a Betty Crocker mix however this time I decided to complicate matters for myself and make the entire thing from scratch. I chose the one bowl chocolate cake recipe from Kate Doran's Homemade Memories cookbook as it seemed less "messy" and the frosting from the Hummingbird Bakery cookbook.

The cake took about an hour to make and bake and the icing took about 10 minutes, however you need time in between for the cake to cool. According to the recipe the cake feeds about 8 people however we managed to cut it into 16 slices so it depends on how hungry you are. 

Ingredients for a 20 cm chocolate cake:

3 tbsp cocoa powder
125g plain white flour
2 tsp baking powder
150g butter, softened and cubed, plus extra for greasing
150g caster sugar
25g light muscovado sugar
3 eggs, lightly beaten
1 tsp vanilla extract
A pinch of salt

Chocolate Frosting:
900g icing sugar, sifted
300g unsalted butter at room temperature
120g cocoa powder, sifted
120ml whole milk


I forgot to put the baking powder in the original photo!!

Preheat the oven to 190 C / 170 C fan / gas mark 5. Lightly grease a 20cm round loose-bottomed cake tin with butter and line with baking parchment.


Sift the cocoa powder into a large bowl, add 3 tablespoons of warm water and whisk until smooth. This was easier said than done for me - my result was not very smooth and was quite "bitty" even though I whisked for about 3-4 minutes.


Sift over the flour and baking powder, and then add the butter, sugars, eggs, vanilla essence and salt and beat until just combined. You can do this with a wooden spoon (if you have a lot of energy) or an easier option would be to use an electric whisk, a stand mixer or a food processor. Mine was still quite lumpy but I figured it would all come together in the oven.


Scrape the batter into the prepared tin and bake for 35-40 minutes - you can check whether it is ready or not by inserting a skewer into the middle and if it is cooked through, it will come out clean.


When it is ready, leave to cool in the tin for 5-10 minutes and then transfer to a wire rack to cool completely. Once cool, slice the cake in half horizontally using a serrated knife.


While the cake is cooling, you can make the frosting. As I said, I used a Hummingbird Bakery recipe for this - my ultimate favourite. I was on the phone to my brother when I did this so I didn't concentrate and added the milk too early - thankfully it didn't matter - however here is how to do it properly!

Sift the icing sugar and cocoa powder into a bowl. Then beat together with the butter using an electric whisk on a medium speed until the ingredients come together and are well mixed. I made a right old mess doing this - cocoa powder was literally flying everywhere!!


Then add the milk a couple of tablespoons at a time and mix together at a slow speed until all the milk is incorporated. Next turn the mixture up to a high speed and beat until the frosting is light and fluffy - this takes about 5 minutes. The longer the frosting is beaten, the lighter it will be. 

Finally, spread the frosting on the top of one half of the sponges, put the other sponge on top of this and cover the rest of the cake (top and sides) with the remainder of the frosting. I managed to actually break the cake as I did this but thankfully covered it up with the icing!

Finally decorate as you like - with haribo, marshmallows, maltesers, smarties or Harry Potter edible wafer papers like us. My only advice it decorate when the frosting is still very fresh as it then sticks better.


Not to blow my old trumpet, but this cake was really really yummy. It was extremely rich and chocolatey but so decadent and delicious. A real winner. Even though most of the time when I was making it, I felt I was doing it wrong and the ingredients weren't mixing like they were meant to, it still worked out fine - thank goodness! I would recommend this recipe to anyone wanting a chocolate cake - I especially loved the fact it was all made in one bowl however I did manage to trash the kitchen in the process but I guess that is part of the fun of cooking (or something)!

Nutrition Facts Widget Image